Spark plug replacement
It didn't rain for half an hour this last Sunday so we seized the dry fragment of the day, popped the bonnet on the Porsche, selected the extra-deep 21mm spark plug socket, and started yanking old spark plugs out of the oily engine bay. Let me preface this by saying that, before I gapped four brand-spanking NGK plugs on a dark and stormy Saturday night, I don't think I'd ever even seen a spark plug up close.
I didn't know quite where this work would lead, but I understood the basic principles: detach the lead, unscrew the plug, screw the new one in, attach the lead. Basic spannerwork, plus a socket extender and a universal joint, which generally come in beginner-friendly toolkits like the one we've got.
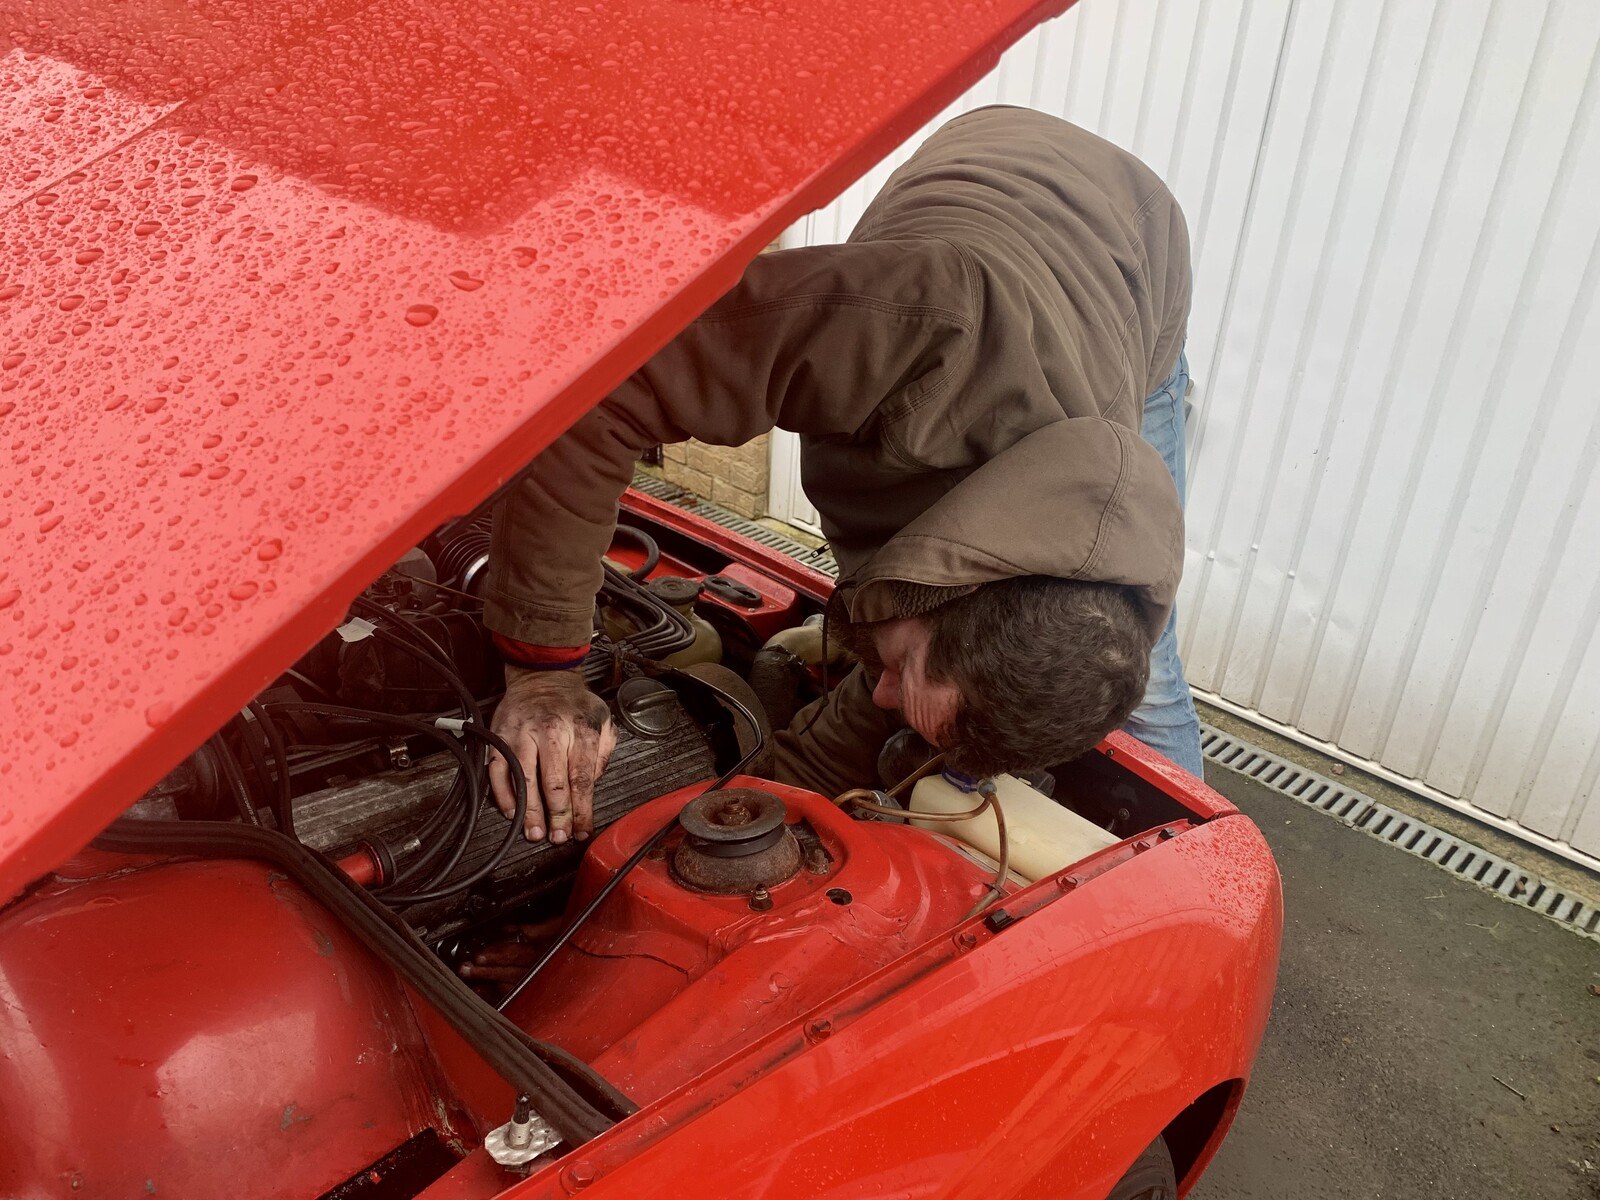
If you're following along at home: you will need an extender and a universal joint. Plug 1 comes out really easily: it's right there in the front and you barely even need to crane your neck to get at it. Plugs 2-4 are a different story: there's a heatshield in the way that prevents a 21mm socket from reaching back far enough to grab the plug. Remove the three 13mm bolts holding the heatshield in place and put it aside. The suspension tower sits right beside plugs 2 and 3, but with your extender you should be able to reach them from in front; 3 is probably the most difficult to reach. You'll probably have to do some elaborate balancing act to get leverage while reaching all the way back there. Plug 4 is relatively easy to reach, but make sure you're not putting weird torque on it through the universal joint or you'll snap the porcelain insulator. Ask me how I know.
Four new plugs installed, I reattached the ("high-tension") leads and the negative terminal on the battery. It started up first time; I almost couldn't believe it. Something so simple! We inspected the old plugs afterwards and they were grimy as heck. If I had them stuck inside me I wouldn't have wanted to start either.

Next
I uninstalled the sink, refinished the socket that the sink fits into, cut new legs for the sink to stand on, and put the sink back in place. It looks much better now.
Previous